
Making Bread When its Cold
We’re all sick of winter, but you can still get bread to rise when you want it to, without spending money on special equipment. I’m going to outline a few ways you can take any recipe and adapt it to the colder months.
Tip 1: Add more starter
There’s lots of recipes out there, some are better than others. An important point is that one recipe might have a huge percentage of starter to the overall flour weight compared to another one. Both recipes will achieve the same result, a nice loaf of sourdough bread, but they will rise at very different paces. You’ll need to plan your day around them differently.
Examples:
My white batard recipe has 150g of starter to 375g of flour.
My Jalapeno, Cheddar and Chive loaf has 22g of starter to 330g of flour.
To use a fancy term, the white recipe has what you might call a “high inoculation” compared to the jalapeno loaf. Inoculation in this context just means the amount of starter used in the recipe. Can you change the proportion of starter that goes in each loaf? Yes.
You would need to reduce the amount of flour and water going into the dough, to make up for the increase in flour and water coming from the starter. Here’s why it’ll fail if you just throw more starter in without making those adjustments.
It will give you unwanted hydration
Starter is nothing but flour, water, yeast, acid and enzymes, which makes it fermented dough. And if you add more dough, you add more water, whether you meant to or not. Too much water in your dough will result in:
Dough that’s harder to handle
Weaker gluten structure
Dough that sticks to your fingers
Dough that holds less gas
A loaf that fails to “spring” in the oven (flat, sad).
It disrupts the balance of fermentation
If you just add more starter, without adjusting the flour and water to make up for the addition of more flour and water, you’ll get a weird imbalance. Fermentation won’t behave the way you expect because you’ve changed hydration and structure rather than cleanly changing your dough’s inoculation.
Let’s change the percentage. How high should we go? You want to have a jalapeno loaf (or any low inoculation loaf) shaped and ready to bake early tomorrow morning. Let’s take a look at that recipe:
22g Starter
240g Water
185g White Bread Flour
132g Plain Flour
13g Wholemeal Flour
7g Salt
That’s an inoculation level of 6%. Now let’s say your kitchen is 12°C. That’s pretty cool for sourdough. A good rough estimate is that your dough will take a total of 12 hours to ferment at this temperature. If we increase inoculation to 8% we can get it down to 10 hours.
Side note: Why not just keep increasing?
This is another article by itself. But in short, when you increase your inoculation too much you get a couple of problems:
The enzymes present in the starter (protease and amylase) work against you. They break down gluten faster than it can develop when there is too much starter relative to fresh flour.
Fermentation speeds up, but maturation doesn’t. Can the gluten development keep up with the increased fermentation? Sometimes it can’t and you end up with sad dough that tears when you try to shape it. You’ve shortened the clock without the dough’s ability to hold gas.
Changing the percentage from 6% to 8% in the jalapeno recipe
As a reminder, the 6% we spoke of is the percentage of starter weight (22g) to overall flour weight (185+132+13=330g) This principle can be applied to anything in the dough, and is known as “bakers percentages”.
It’s simpler than you think. To increase the starter amount to 8% we just work out what 8% of 330 is (26.4). Let's round that down to 26. Now, if we increase the amount of starter going into the dough by 2%, it is important that we reduce the flour and water proportionally.
That 26g figure we arrived at; how many grams more is it from the original amount of starter? We went from 22g to 26g, so it's a 4g increase. And although it may seem insignificant, to keep the balance of the recipe, we will need to decrease the flour and water. Both the flour and water need to be reduced by 2g each because the starter itself contains roughly equal parts flour and water. And that’s it: by doing this you have reduced your dough fermentation time by a few hours.
But let’s say you can’t change it, or you don’t want to. A starter increase is not the only way to shorten fermentation time without splashing out on special equipment. Look no further than the hot tap.
Tip 2: Desired Dough Temperature (DDT)
This is a trick to give your dough a boost in the early stages of fermentation. It shaves a little time off, like increasing the starter does, and once you master the formula you’ll be getting more consistent results all year round. Using this method also gives you the benefits of keeping your inoculation low.
Get your water to a certain temperature, combine it with all of the flour you will be using before adding your salt and starter and you’ll end up with a dough that starts its crucial first stages of fermentation warmer than the room it is prepared and stored in. Of course unless you maintain this temperature with added heat (a prover, the radiator) you’ll still have to live with a pretty long bulk fermentation. I always start with this method as I find it reassuring. You can predict with more accuracy what your dough is going to do if you use the formula, and here it is:
Water temperature = Desired dough temperature X 4 - (Room temp + Friction temp + Flour temp + Starter temp)
26 x 4 = 104
Let’s fill in the variables
Room 12°C
Friction 5°C
Flour 12°C
Starter 5°C
12+5+12+5=34
If we take that 34 and subtract it from 104, theoretically we get the number we want our water to be. If you mix water at this temperature with your starter directly, you run the risk of damaging or even killing the starter. That’s why it’s important to autolyse.
Whether you believe autolysing is fundamental to good dough structure or not, we do it here to assemble our dough in a way that doesn’t harm our starter.
Start with the water. Then add the flour. The coolness of the flour will bring the temperature of the water down, leaving you with a dough that is warm, not hot. I recommend you rest the dough for a few minutes before adding in your starter and salt. Once those are in, take the temperature of your dough. You should have a 26°C, or if not very close to that.
Let’s break it down:
All we know so far is that we want the dough to be warm. It’s a 6% inoculation dough, so lets go for 26°C. That’s too high for the white recipe mentioned at the start, but it should work well for the jalapeno dough. We start by measuring the room temperature and note the figure. We then take a reading of the flour temperature, which is usually the same temperature as the room.
Having established those two figures, you may need to add one in that you might not have come across. This is “friction.” We use this if there’s a mixer involved, because moving your dough around in one of those things generates some heat. Not loads, but it is still relevant. We allow for 5°C for mixer usage, and that is the same across most guides you’ll come across.
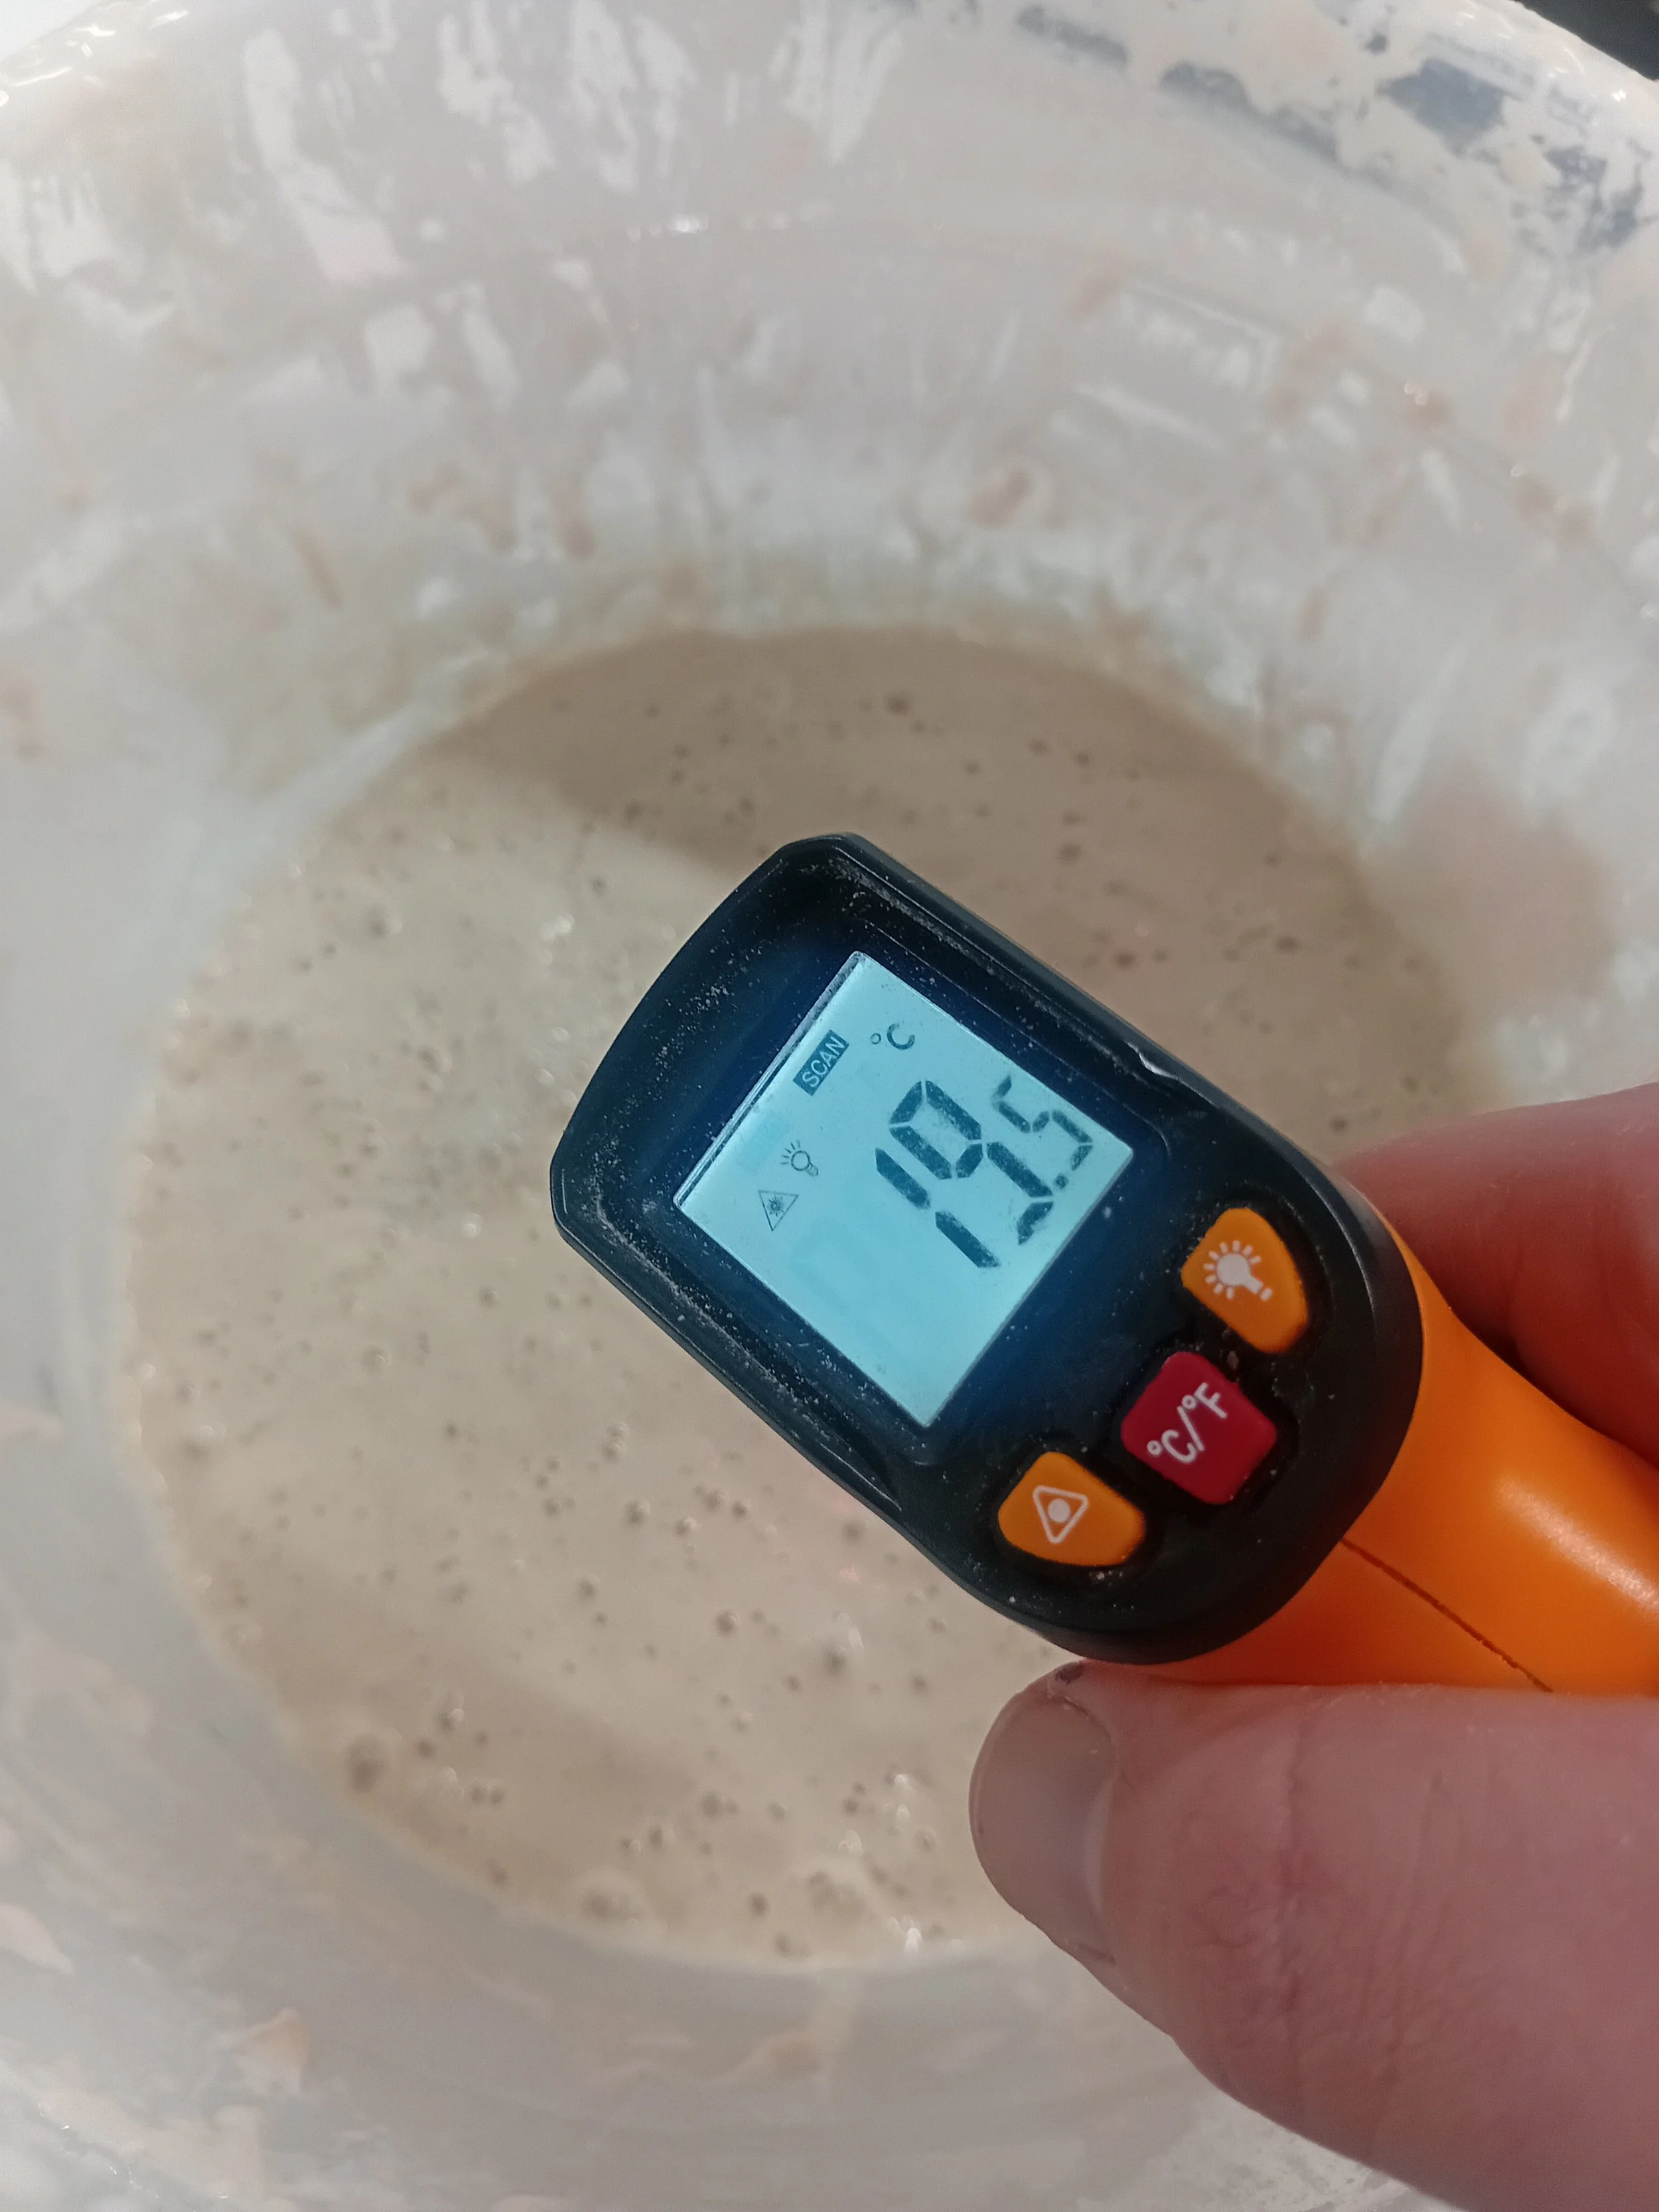
The final reading is the temperature of your sourdough starter. It might have just come out of the fridge, or you might have only fed it 12 hours ago and left it at room temperature. Either way, we need the number. To take all of these readings I recommend a basic laser thermometer if you have one. If not, you can still make this work with a regular probe thermometer.
So: We’ve decided we want our dough to be 26°C. According to the formula, we multiply the desired dough temperature by the number of temperature factors we’re accounting for. This is the room temp, friction temp, flour temp and starter temp. That’s four different factors that can vary how hot we need our water to be when it gets added to the flour. And if you aren’t using a mixer, just leave that factor out and multiply by 3 instead.
Unless the dough is kept warm, it will still drift towards the temperature of the room over time. Think of this method as a headstart, rather than a shortcut.
A few extra tips
Using one or both of these factors will help you shorten your sourdough proofing time in winter a little bit. Here are a few extra ways to prevent the process slowing down any more than necessary.
Keep dough covered
Seems like an obvious one for health and safety reasons. You don’t want anything unusual getting near your dough. But covering dough is important in winter (and all the other seasons) for two other reasons:
Humidity. Crucial for bulk fermentation, and even a light tea towel will help give you some. Those gas producing yeast particles just love humidity.
Protects from forming a skin. When air gets in contact with dough, eventually it starts to form a skin across the membrane. This is a problem because that skin can prohibit expansion. That’s why both at bulk and final proving, always keep your dough covered.
Because the air is dryer in winter, as an extra precaution you can soak your tea towel in hot water before wringing it out and covering your dough with it. This little hack helps maintain humidity and prevents skin from forming even more than a dry towel. Keep in mind it won’t increase your fermentation speed, but it’s still good to do in winter.
Minimise temperature swings
If at some point during the day you’ve heated your living room you might get tempted to take advantage of the heat source and move the dough in there, even if it's only for an hour or two. It seems counterintuitive, but this is actually bad for your sourdough. A sudden burst of heat will speed up fermentation unevenly, narrowing your margin for error and increasing the risk of overproofing. Instead:
Keep your dough on a counter top that isn’t freezing cold if this is doable. Or -
Pop it in the oven without turning the oven on. Boil a cupful of water, pour this in a bowl and leave this under the dough for added humidity.
Perform regular stretches and folds of the dough. This will distribute an even temperature leaving you with a nice even loaf structure.
A few final thoughts
Remember that cold fermentation won’t leave you with a dough that has doubled in size. Look (and feel) for air bubbles. Assess how relaxed the dough feels. Then shape when you feel comfortable. Winter baking rewards patience and consistency more than speed. And I hope you end up with a loaf that you’ve allowed the winter weather to work with.
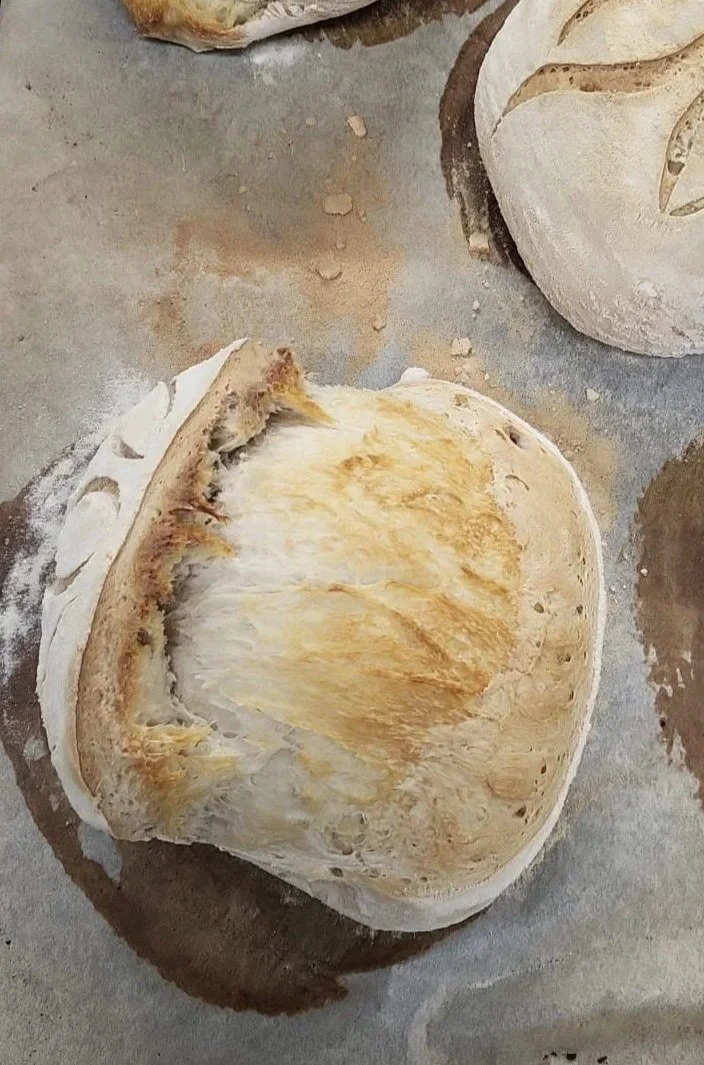
My white recipe has a high inoculation and takes less time to make
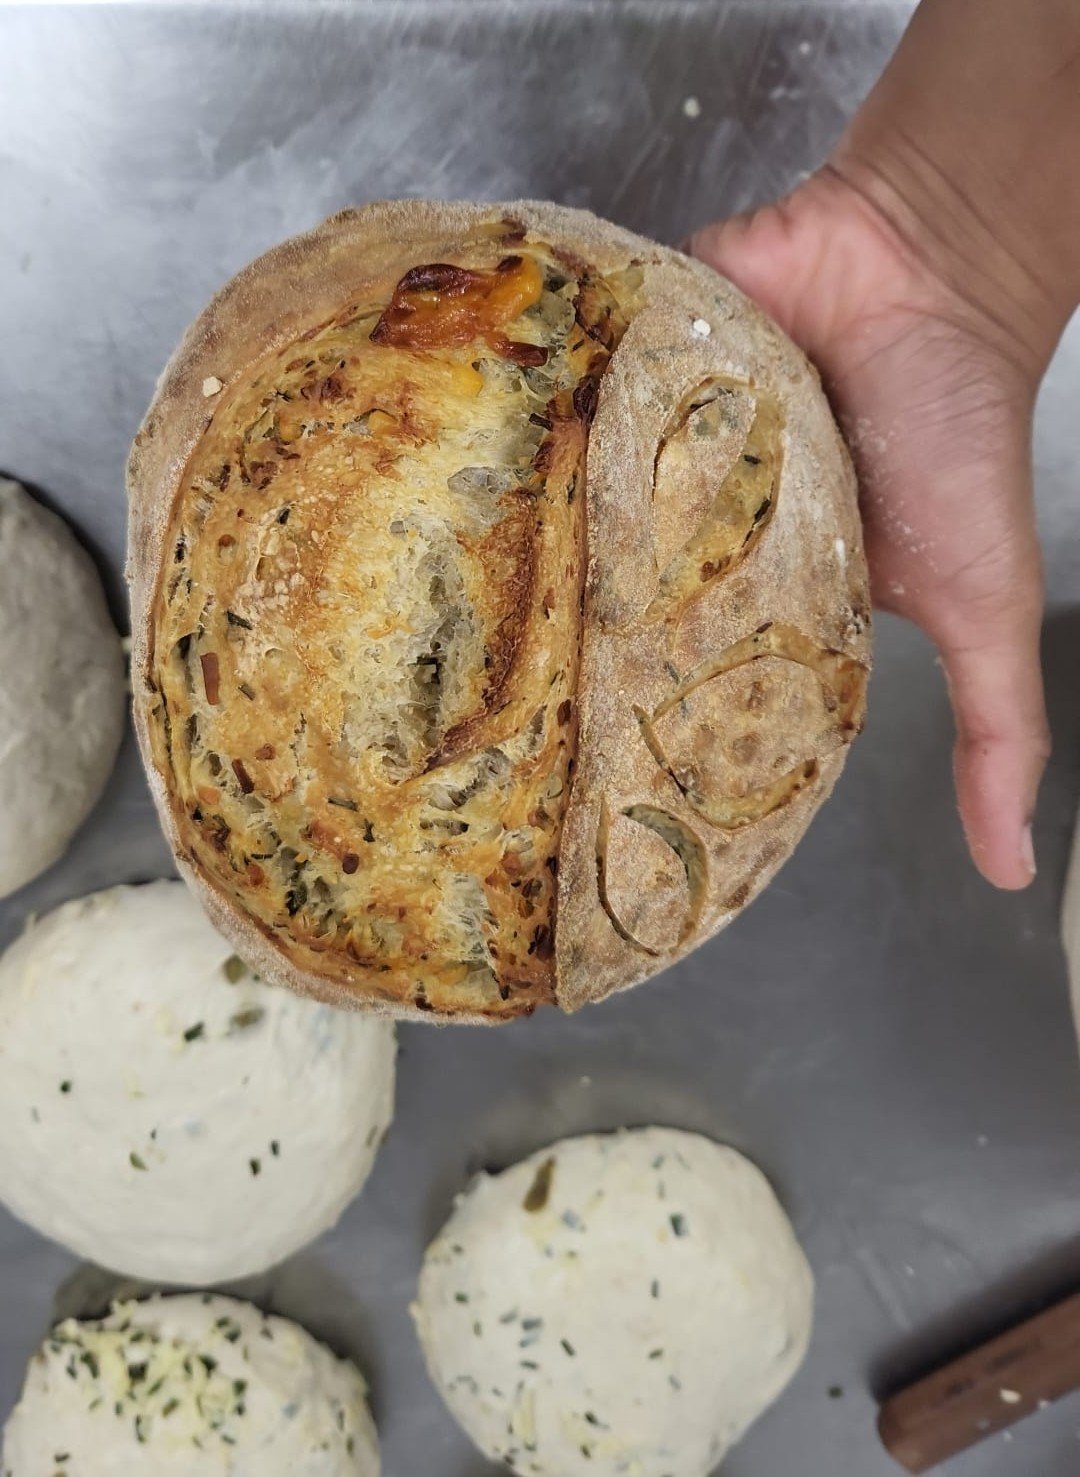
My jalapeno, cheddar and chive loaf is low inoculation. That means it takes longer to make.